Art Ideas Blog Two: Quilling Craft Creations
This wonderful paper craft is intricate and engaging, with so many amazing possibilities. Here we'll show you how to make a happy little toucan sitting on a branch, inspired by Lika Hanyuu's blog.
What you'll need:
• Lots of coloured paper (green, white, orange, brown and black in this instance!)
• Pencil to sketch out your toucan friend
• Scissors
• Cellotape
• Patience!
Step 1:

Carefully cut some green paper in a wavy fashion to create the foliage beneath the branches that you've cut from the brown paper. Arrange them on the white paper as above.
Step 2:

Using some more green paper, cut some strips to form your leaves for the ends of the branches.
Step 3:

Roll and curl the strips.

Squeeze the curled paper between your fingers, shaping them into leaves.

Affix your leaves to the end of the branches using cellotape.
Step 4:
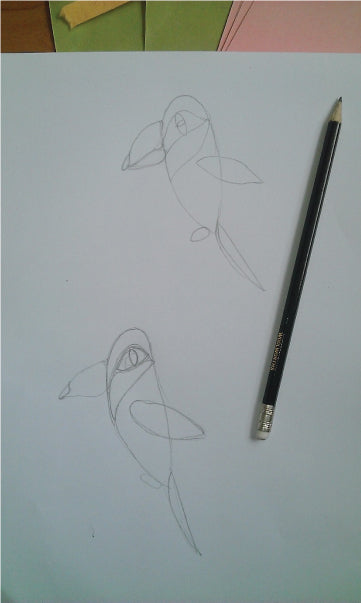
Roughly sketch our Mr (or Mrs) Toucan, following the shapes on the example above.

As with the green paper before, curl and roll strips of black paper, this time following the shape of the sketch of our happy little toucan friend.
Step 5:

Continue to build up the feathers and body of the toucan, carefully following the shape of the sketch. Remember to use strips of orange card for the beak!

Carefully perch our newly formed toucan friend onto the branch, sticking him down with cellotape so he doesn't fall!

Lastly, slide him in to your A4 Double Gallery Picture Frame, next to another one of your fantastic arty craft projects (here we tried another quilling project against black paper).